站长资源平面设计
PS为外国大咖图片换上中国风服饰
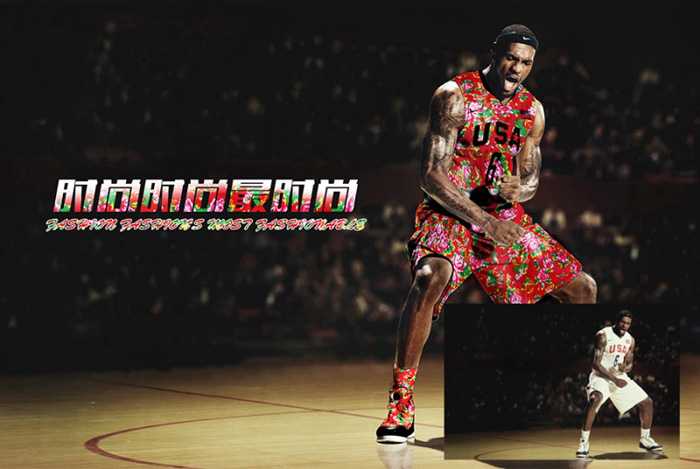
简介教程的主要思路是给衣服加上指定的花纹图案。过程:先把要加花纹的部分抠出来,复制到新的图层;然后用花纹图案叠加到抠出的衣服上,整体处理融合;后期再细化局部的一些变形并加强褶皱即可。 最终效果 1、打开人物图片,用钢笔工具或者其它工具抠出你要加上大花布的位置。这里抠出来的是鞋子部分,抠出的部分单独复制出
教程的主要思路是给衣服加上指定的花纹图案。过程:先把要加花纹的部分抠出来,复制到新的图层;然后用花纹图案叠加到抠出的衣服上,整体处理融合;后期再细化局部的一些变形并加强褶皱即可。
最终效果
1、打开人物图片,用钢笔工具或者其它工具抠出你要加上大花布的位置。这里抠出来的是鞋子部分,抠出的部分单独复制出来。
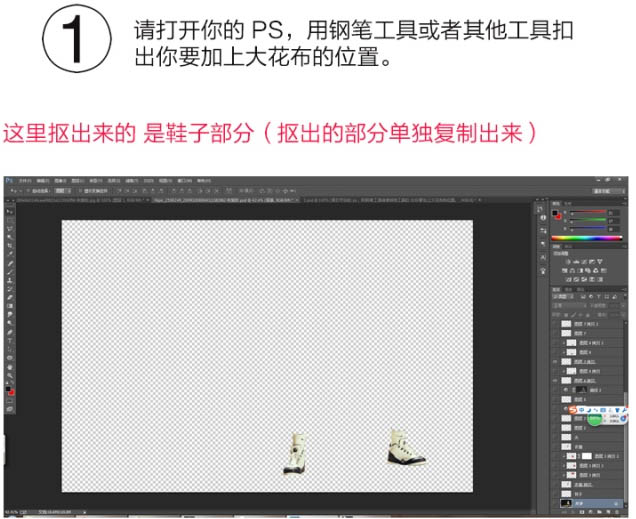
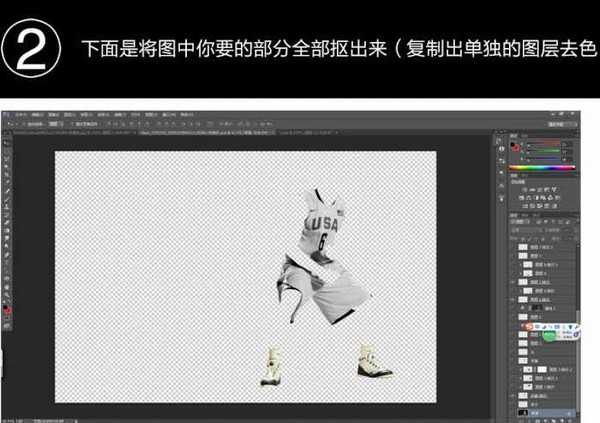
2、下面是将图中你要的部分全部抠出来,复制出单独的图层去色。
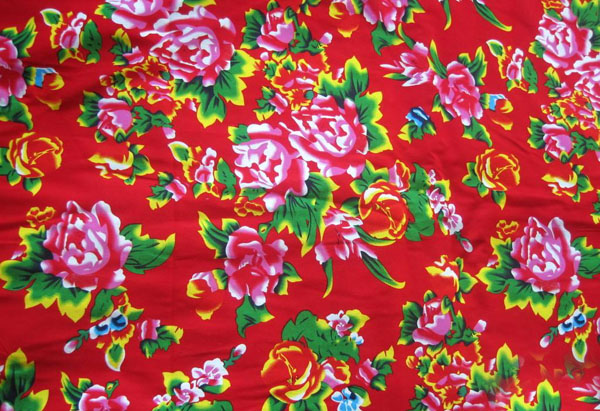
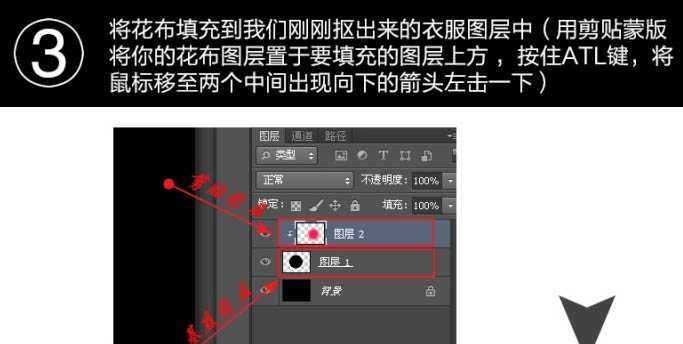
3、将花布填充到我们刚刚抠出来的衣服图层中,用剪贴蒙版将你的花布图层置入要填充的图层上方,按住Alt键,将鼠标移至两个中间出现向下的箭头左击一下。
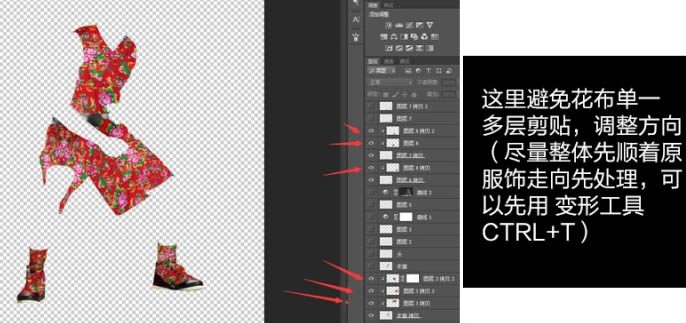
这里避免画布单一多层剪贴,调整方向,尽量整体先顺着原服饰走向处理,可以用变形工具。
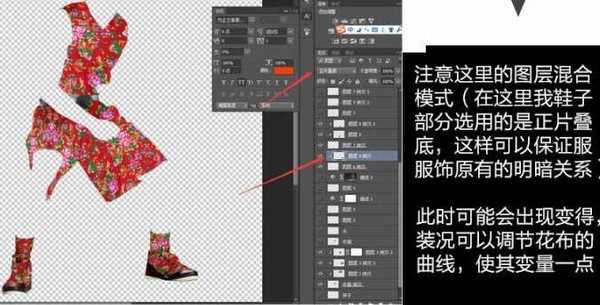
注意这里的图层混合模式。
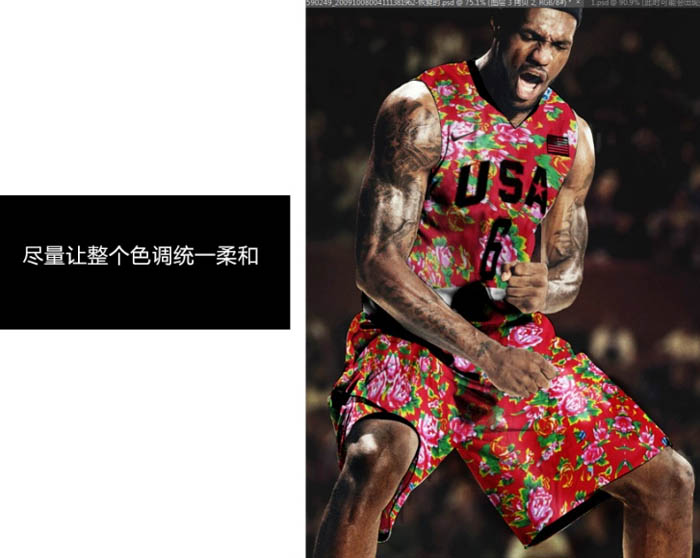
尽量让整个色调统一柔和。
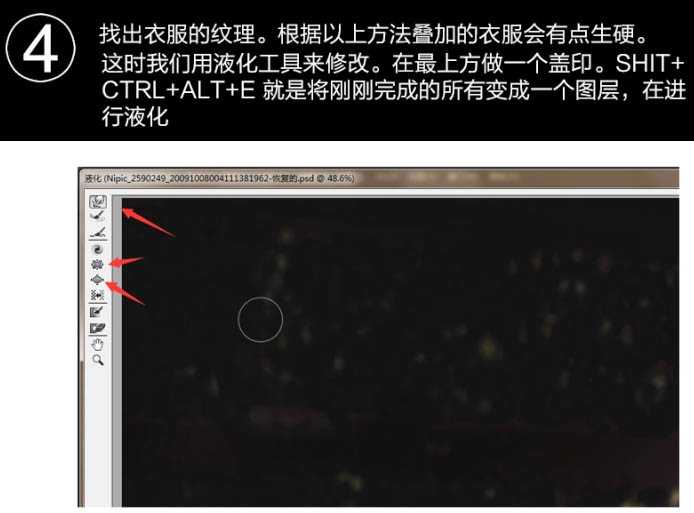
4、找出衣服的纹理。根据以上方法叠加的衣服会有点生硬。这时我们用液化工具来修改。在最上方做一个盖印。Shift + Ctrl + Alt + E 就是将刚刚完成的所有变成一个图层,再进行液化。
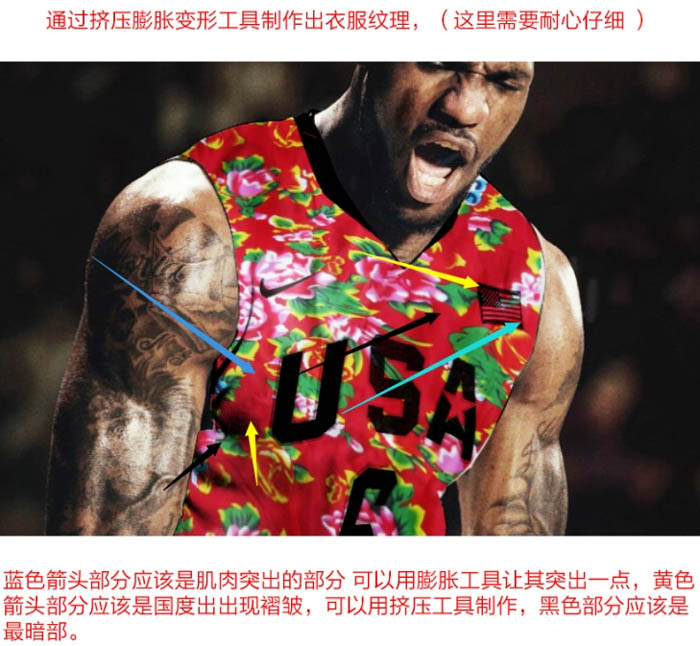
通过挤压膨胀工具制作出衣服纹理。
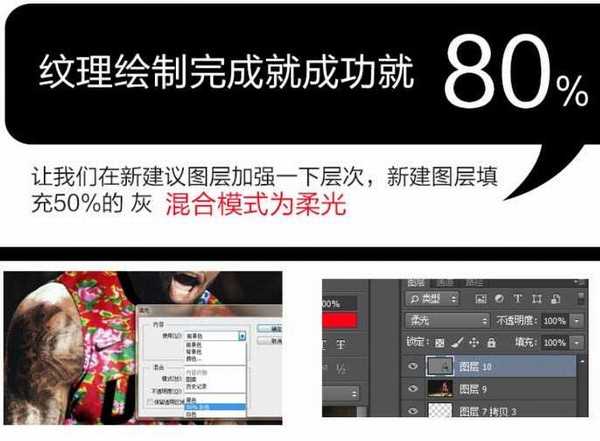
新建图层填充50%的灰色,混合模式为“柔光”。
调整画笔将透明度调整为50%或者适当值,选择黑或者白笔刷在柔光的图层上轻轻的刷。在图中暗部用黑色笔刷轻轻划几笔,暗部会加深,亮部则用白色,根据情况调整透明度。
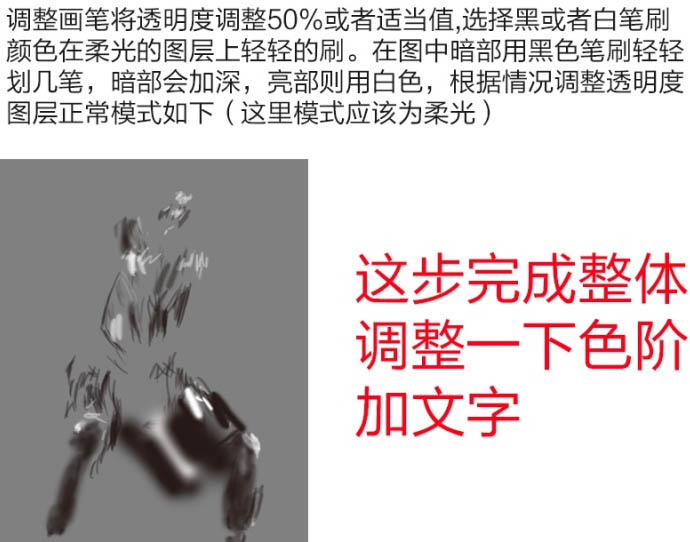
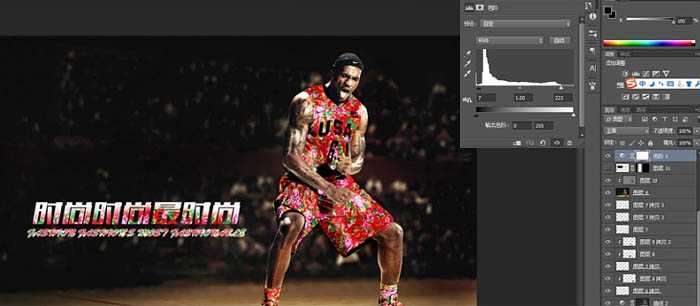
调整一下色阶,加上文字。
最终效果:
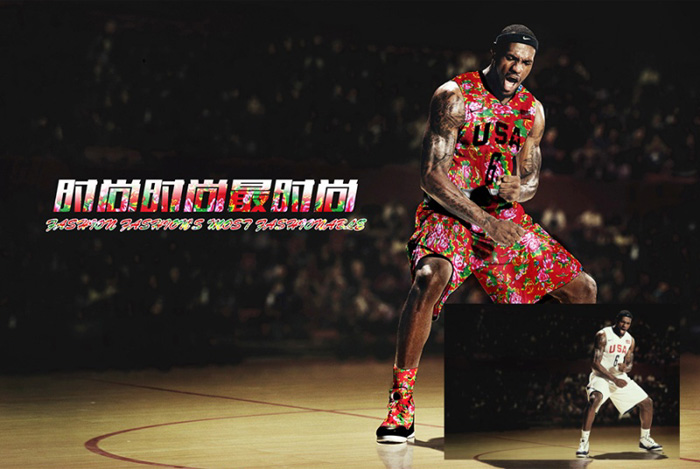
最终效果
1、打开人物图片,用钢笔工具或者其它工具抠出你要加上大花布的位置。这里抠出来的是鞋子部分,抠出的部分单独复制出来。
2、下面是将图中你要的部分全部抠出来,复制出单独的图层去色。
3、将花布填充到我们刚刚抠出来的衣服图层中,用剪贴蒙版将你的花布图层置入要填充的图层上方,按住Alt键,将鼠标移至两个中间出现向下的箭头左击一下。
这里避免画布单一多层剪贴,调整方向,尽量整体先顺着原服饰走向处理,可以用变形工具。
注意这里的图层混合模式。
尽量让整个色调统一柔和。
4、找出衣服的纹理。根据以上方法叠加的衣服会有点生硬。这时我们用液化工具来修改。在最上方做一个盖印。Shift + Ctrl + Alt + E 就是将刚刚完成的所有变成一个图层,再进行液化。
通过挤压膨胀工具制作出衣服纹理。
新建图层填充50%的灰色,混合模式为“柔光”。
调整画笔将透明度调整为50%或者适当值,选择黑或者白笔刷在柔光的图层上轻轻的刷。在图中暗部用黑色笔刷轻轻划几笔,暗部会加深,亮部则用白色,根据情况调整透明度。
调整一下色阶,加上文字。
最终效果: