站长资源平面设计
PS与Ai结合制作gif闪动的餐厅霓虹灯招牌字
简介效果图制作分为三大部分:前期字体创意、增加霓虹效果、动画制作;字体部分作者是在AI中完成,其实PS也可以完成,只是稍微复杂一点;霓虹字直接用图层样式来完成;最后把做好的几组效果转为动画即可。最终效果1、首先呢~打开你的AI,然后用椭圆工具画一个圆,描边:5pt。2、打上文字,这里使用的是Darwin
效果图制作分为三大部分:前期字体创意、增加霓虹效果、动画制作;字体部分作者是在AI中完成,其实PS也可以完成,只是稍微复杂一点;霓虹字直接用图层样式来完成;最后把做好的几组效果转为动画即可。
最终效果

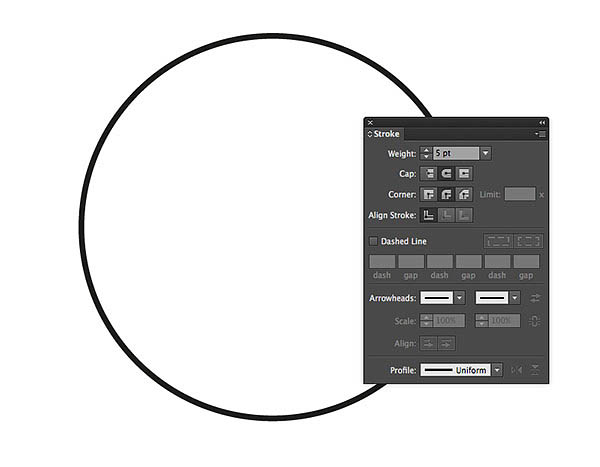
1、首先呢~打开你的AI,然后用椭圆工具画一个圆,描边:5pt。
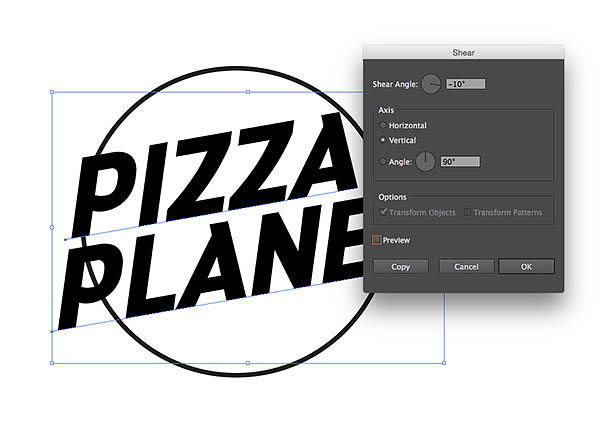
2、打上文字,这里使用的是Darwin字体,没有的可以用相似的字体哦。

3、然后我们去对象>变换>斜切,倾斜角度:-10°,角度:90°。
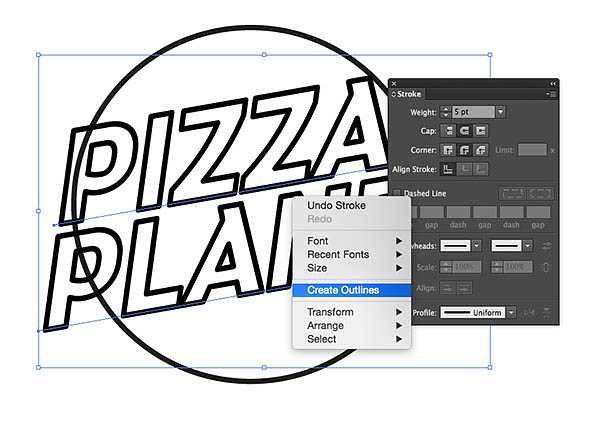
4、现在我们要把文字处理成空心字~选择工具选择字,然后右键>创建轮廓,清除文字填充颜色,描边为5pt。
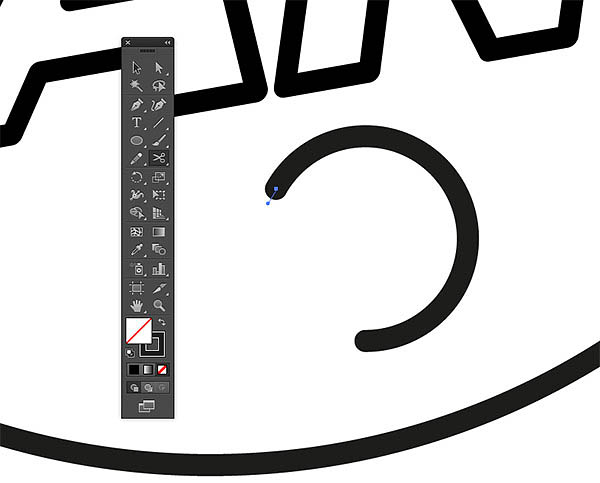
5、画一个小圆,然后用剪刀工具去掉小圆的一部分~在描边里选择3点圆形,双击3点圆形,更改大小 为5pt。
6、复制刚刚制作好的图形,放置在空白位置,看上去像是是月球坑洼的表面。

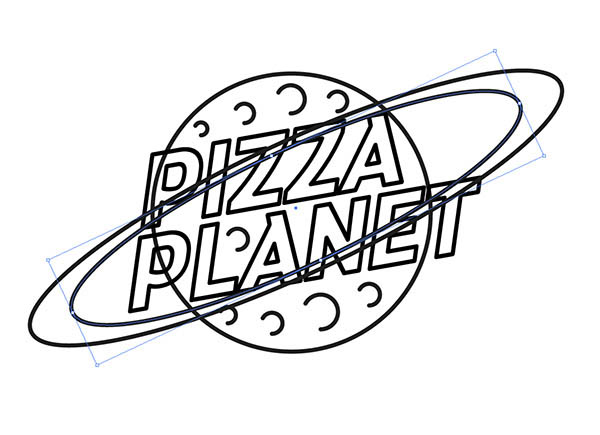
7、选择构成行星的圆,然后复制CMD+C,粘贴 CMD+F,放置在最上层。按住ALT键的同时拉伸和挤压形状,从而形成周围的行星环,然后复制形状,稍微缩小哟。
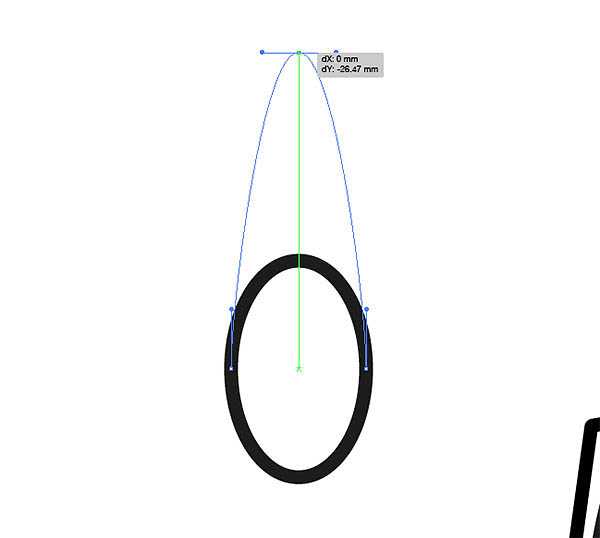
8、画板上的某个位置绘制一个椭圆,使用直接选择工具然后向上拖动顶点,拉伸形状~拉伸拉伸它。
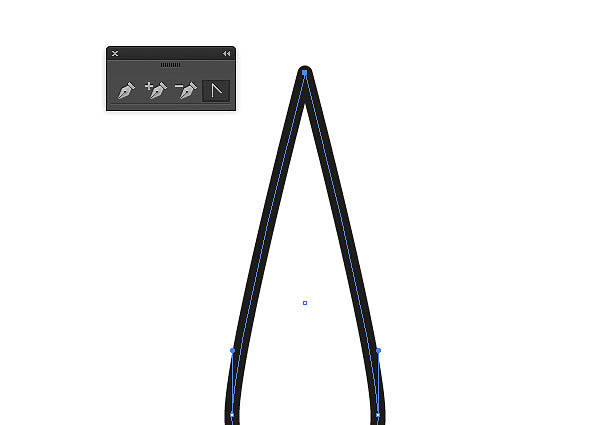
9、从钢笔工具组使用转换锚点工具删除手柄,留下一个尖点。然后描边改成5pt圆点。
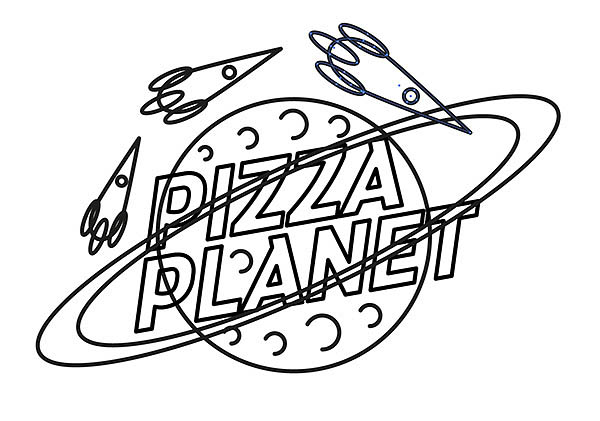
10、为了构建一个简单的火箭,我们再来添加其他形状~使用对齐面板中的居中对齐,集中所有的元素。

11、再对这个火箭形状复制两次,然后适当缩小放大,放置如下图所示。
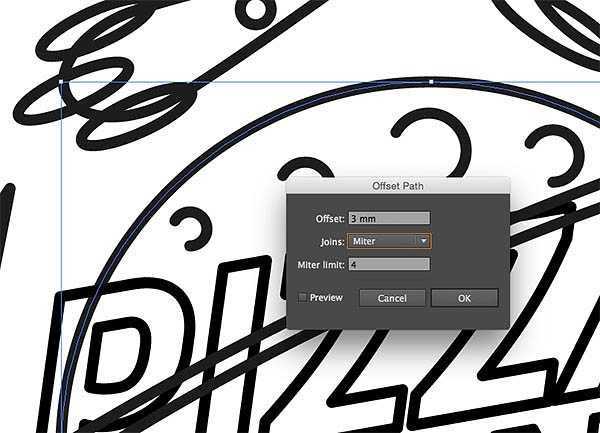
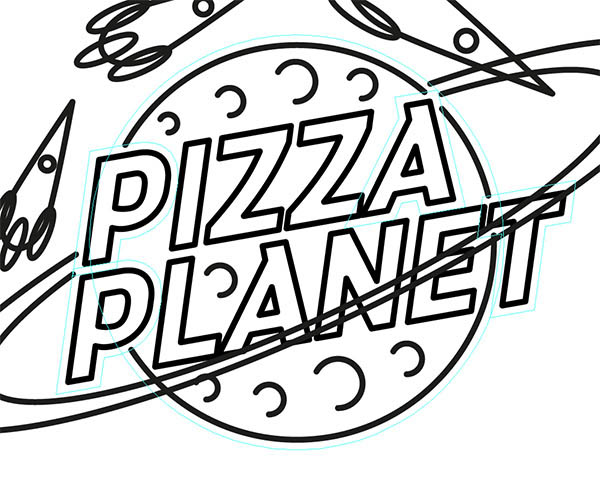
12、目前有许多相互重叠的路径,为了达到更好的霓虹灯效果 ,我们再来对其进行一些细节处理。选择主行星圆圈,对象>路径>偏移路径。输入3毫米。
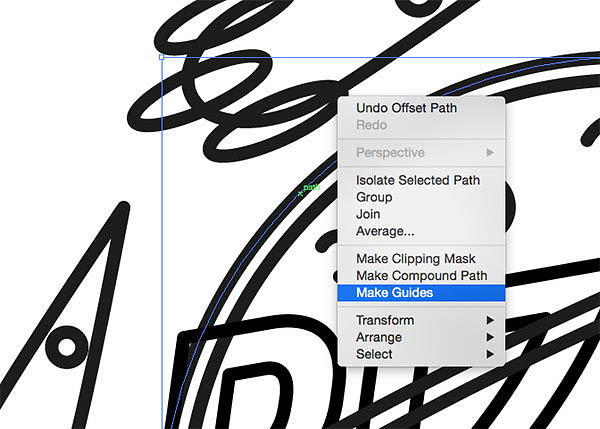
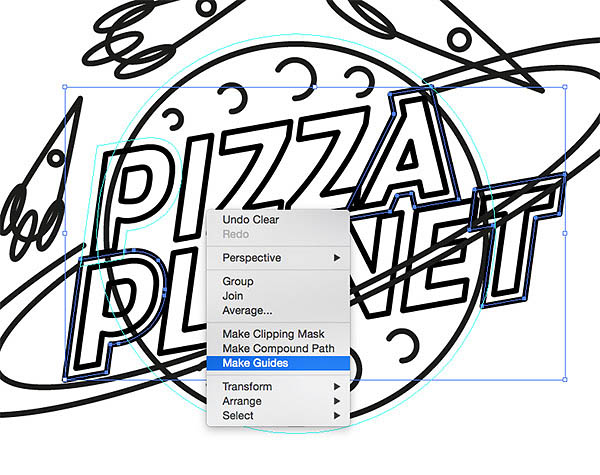
13、右键点击所产生的偏移路径上,点击建立参考线。确保参考线可见( CMD+; ) 并锁定参考线 (CMD+Alt+; )。
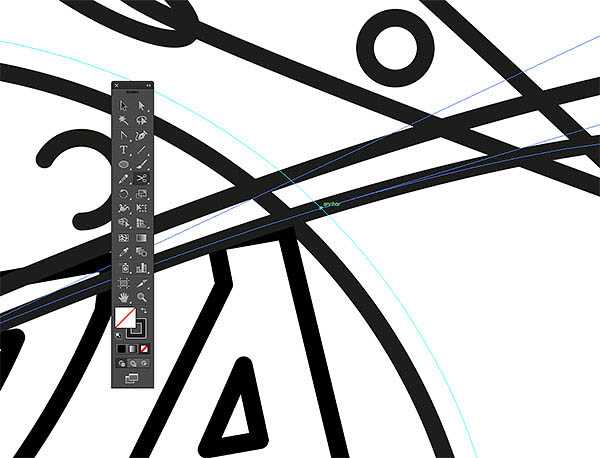
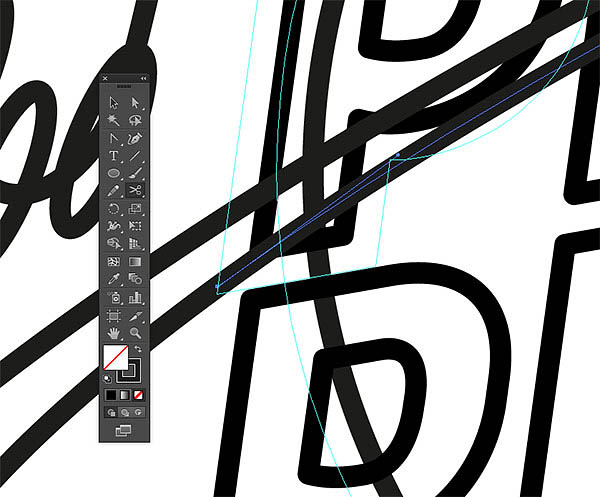
14、使用剪刀工具剪断行星路径与两个外圆环的相交处。使用智能参考线(CMD + U)可以很容易地看到。
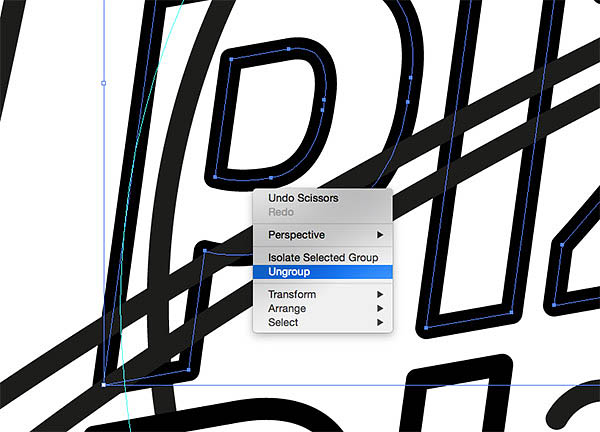
15、因为字母P超过了行星的轮廓,所以我们要取消组合文本或进入隔离模式,选择“p”字母,然后加3毫米偏移路径。
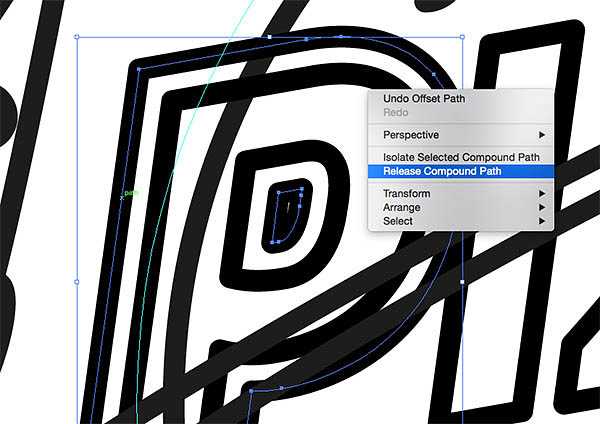
16、字母P需要单独创造参考线。右键单击并选择释放复合路径,然后在打开主轮廓引导之前删除碗的内侧部分。
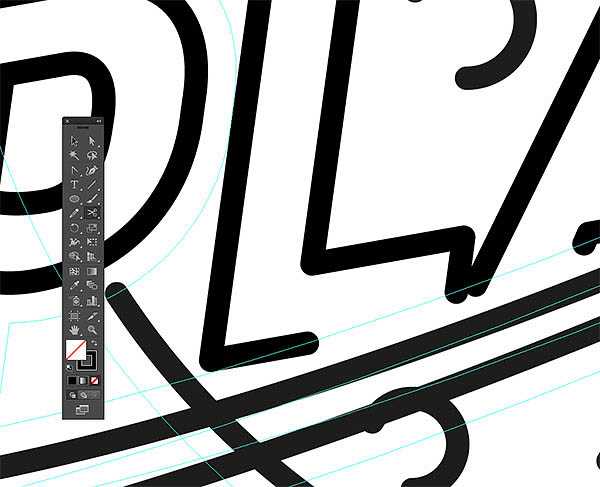
17、裁剪掉行星环穿过字母P的路径,然后删除不想要的部分路径。
18、接下来用相同的方式处理其他相交路径。但对于圆环的下段,文本将需要修改,以允许环可以围绕地球。

19、取消其他文本元素的组,然后在第一个和最后一个字母添加偏移路径,建立参考线。记得要释放p的复合路径,才能建立参考线。
20、我们要使用这些新的参考线来剪断的相互交叉的路径,并删除周围的重叠的任何路径。

21、对于其中圆环的重叠文本的区域呢~我们需要从环的路径创建额外的参考线。
22、现在使用剪刀工具裁剪并删除文字在圆环内的路径。
23、有时需要释放的字母复合路径,以便选择和删除我们不想要的部分路径。

上一页12 下一页 阅读全文
最终效果
1、首先呢~打开你的AI,然后用椭圆工具画一个圆,描边:5pt。
2、打上文字,这里使用的是Darwin字体,没有的可以用相似的字体哦。
3、然后我们去对象>变换>斜切,倾斜角度:-10°,角度:90°。
4、现在我们要把文字处理成空心字~选择工具选择字,然后右键>创建轮廓,清除文字填充颜色,描边为5pt。
5、画一个小圆,然后用剪刀工具去掉小圆的一部分~在描边里选择3点圆形,双击3点圆形,更改大小 为5pt。
6、复制刚刚制作好的图形,放置在空白位置,看上去像是是月球坑洼的表面。
7、选择构成行星的圆,然后复制CMD+C,粘贴 CMD+F,放置在最上层。按住ALT键的同时拉伸和挤压形状,从而形成周围的行星环,然后复制形状,稍微缩小哟。
8、画板上的某个位置绘制一个椭圆,使用直接选择工具然后向上拖动顶点,拉伸形状~拉伸拉伸它。
9、从钢笔工具组使用转换锚点工具删除手柄,留下一个尖点。然后描边改成5pt圆点。
10、为了构建一个简单的火箭,我们再来添加其他形状~使用对齐面板中的居中对齐,集中所有的元素。
11、再对这个火箭形状复制两次,然后适当缩小放大,放置如下图所示。
12、目前有许多相互重叠的路径,为了达到更好的霓虹灯效果 ,我们再来对其进行一些细节处理。选择主行星圆圈,对象>路径>偏移路径。输入3毫米。
13、右键点击所产生的偏移路径上,点击建立参考线。确保参考线可见( CMD+; ) 并锁定参考线 (CMD+Alt+; )。
14、使用剪刀工具剪断行星路径与两个外圆环的相交处。使用智能参考线(CMD + U)可以很容易地看到。
15、因为字母P超过了行星的轮廓,所以我们要取消组合文本或进入隔离模式,选择“p”字母,然后加3毫米偏移路径。
16、字母P需要单独创造参考线。右键单击并选择释放复合路径,然后在打开主轮廓引导之前删除碗的内侧部分。
17、裁剪掉行星环穿过字母P的路径,然后删除不想要的部分路径。
18、接下来用相同的方式处理其他相交路径。但对于圆环的下段,文本将需要修改,以允许环可以围绕地球。
19、取消其他文本元素的组,然后在第一个和最后一个字母添加偏移路径,建立参考线。记得要释放p的复合路径,才能建立参考线。
20、我们要使用这些新的参考线来剪断的相互交叉的路径,并删除周围的重叠的任何路径。
21、对于其中圆环的重叠文本的区域呢~我们需要从环的路径创建额外的参考线。
22、现在使用剪刀工具裁剪并删除文字在圆环内的路径。
23、有时需要释放的字母复合路径,以便选择和删除我们不想要的部分路径。
上一页12 下一页 阅读全文