站长资源平面设计
Photoshop入门基础教程:介绍色相饱和度命令应用方法
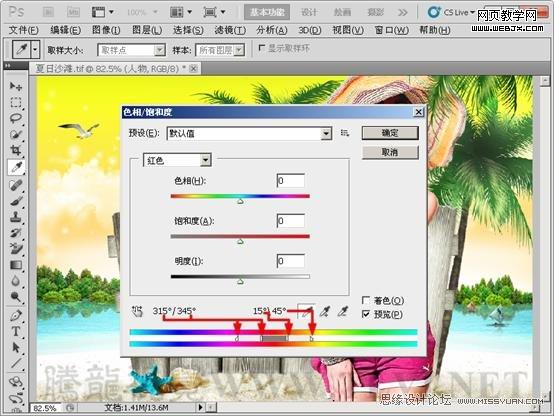
简介1. 认识“色相/饱和度”对话框 (1)打开素材“夏日沙滩.tif”文件。 (2)执行“图像”→“调整”→“色相/饱和度”命令,打开“色相/饱和度

1. 认识“色相/饱和度”对话框
(1)打开素材“夏日沙滩.tif”文件。

(2)执行“图像”→“调整”→“色相/饱和度”命令,打开“色相/饱和度”对话框。
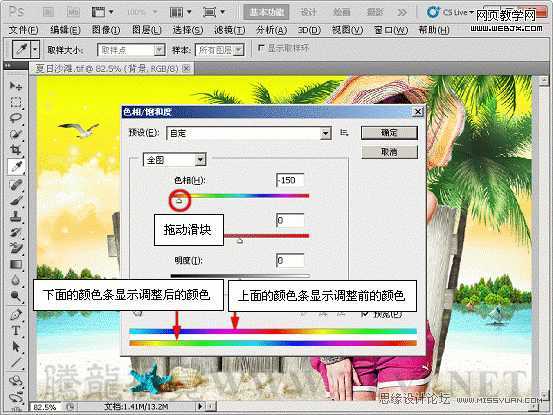

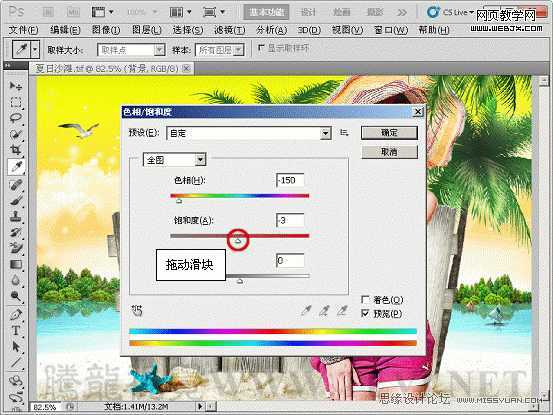
(3)调整图像的饱和度。

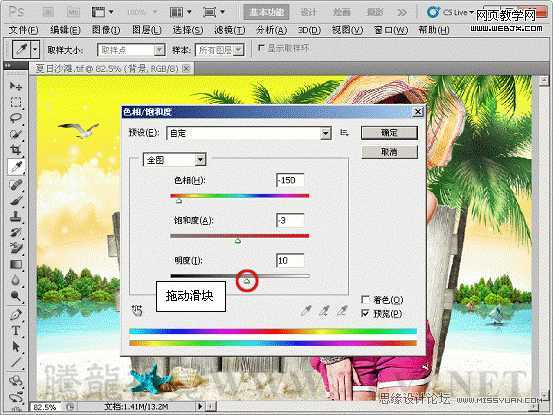
(4)调整图像的明度。

2. 调整图像中的单个颜色成分
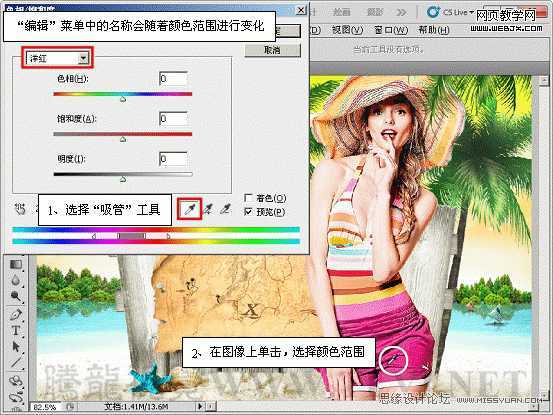
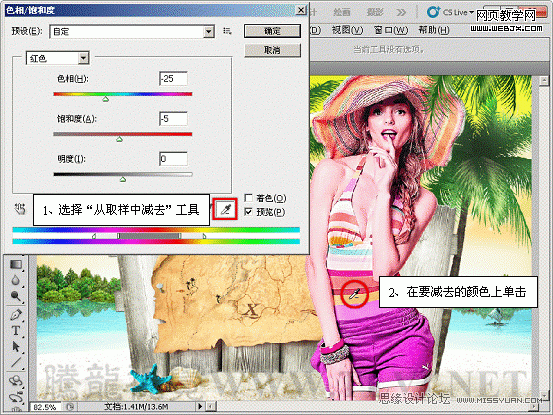
(1)选择“人物”图层,按下键,打开“色相/饱和度”对话框。
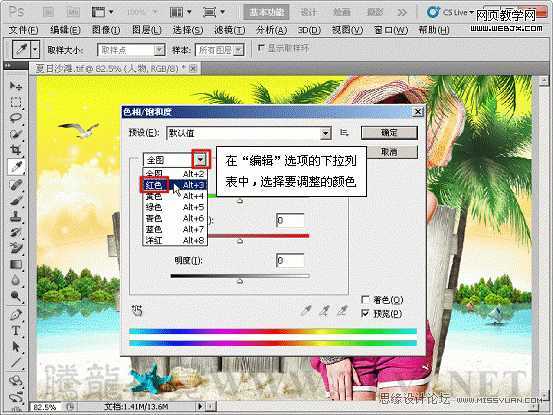
(2)选择“红色”选项后,在颜色条之间出现了4个滑块和4个相对应的值。
(3)选择需要调整的颜色范围。
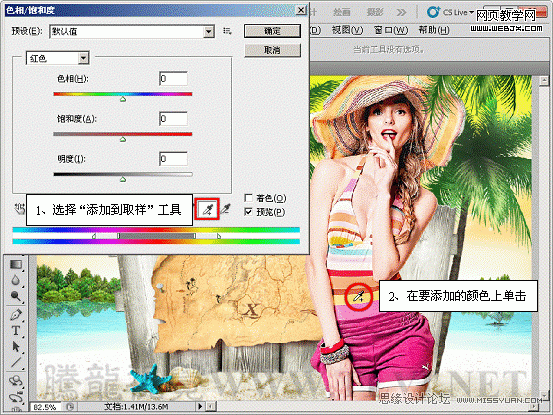
(4)扩大颜色范围。
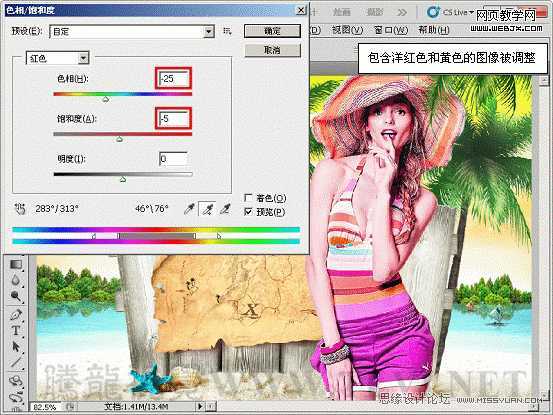
(5)设置参数。
(6)缩小颜色范围。
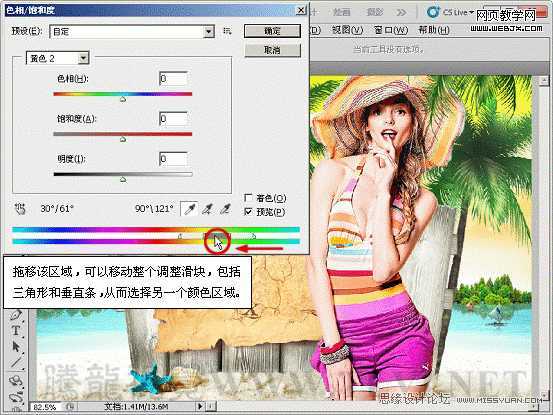
(7)拖动右侧的垂直滑块和三角滑块之间的区域。

(8)在“编辑”选项的下拉列表中选择“绿色”。

(9)拖动颜色条中滑块的灰色部分。
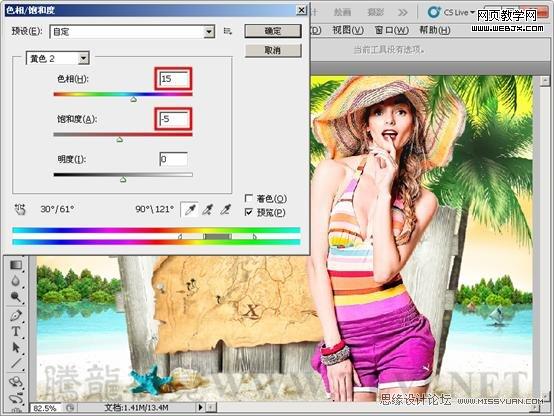
(10)设置参数。
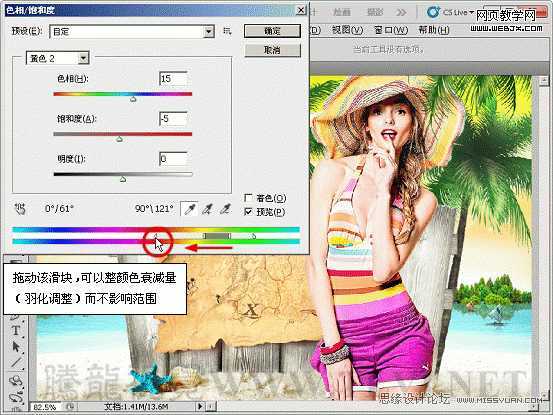
(11)拖动颜色条上的衰减三角滑块。
(12)拖动左侧的垂直滑块。

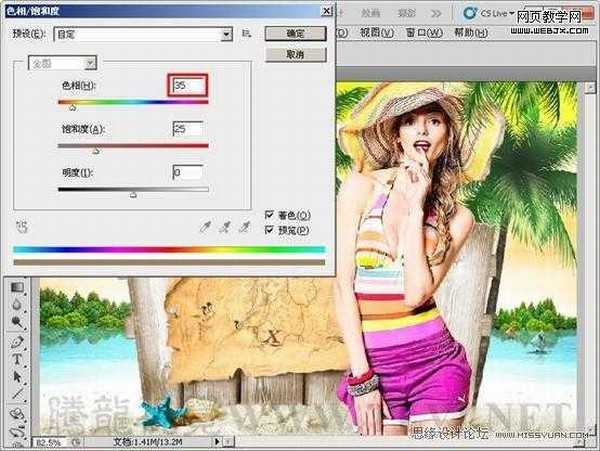
3. 创造单色调效果
(1)选择“标牌”图层,按下键,打开“色相/饱和度”对话框。
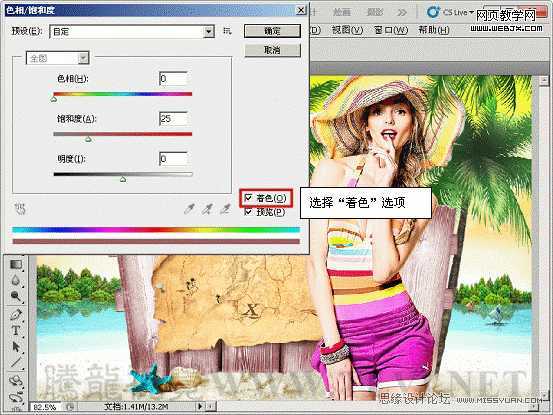

(2)设置参数,调整图像色相。
(3)至此,完成本实例的制作。
